5.7. Setting Details About Your Course
This topic describes how to set details about your course in Studio. The details you set determine the information that learners see about the course on their dashboards and on the course About page. For more information, see Exploring Your Dashboard, Settings, and Profile.
You configure these course details in Studio.
For information about setting important dates for the course, see Setting Start and End Dates.
For information about setting the licensing for the course, see Licensing a Course.
5.7.1. The Learner Dashboard
After a learner enrolls in a course, the course is listed on that learner’s dashboard. From the dashboard, a learner can open a course that has started. If the course has not started, or has already ended, the dashboard shows the start or end date.
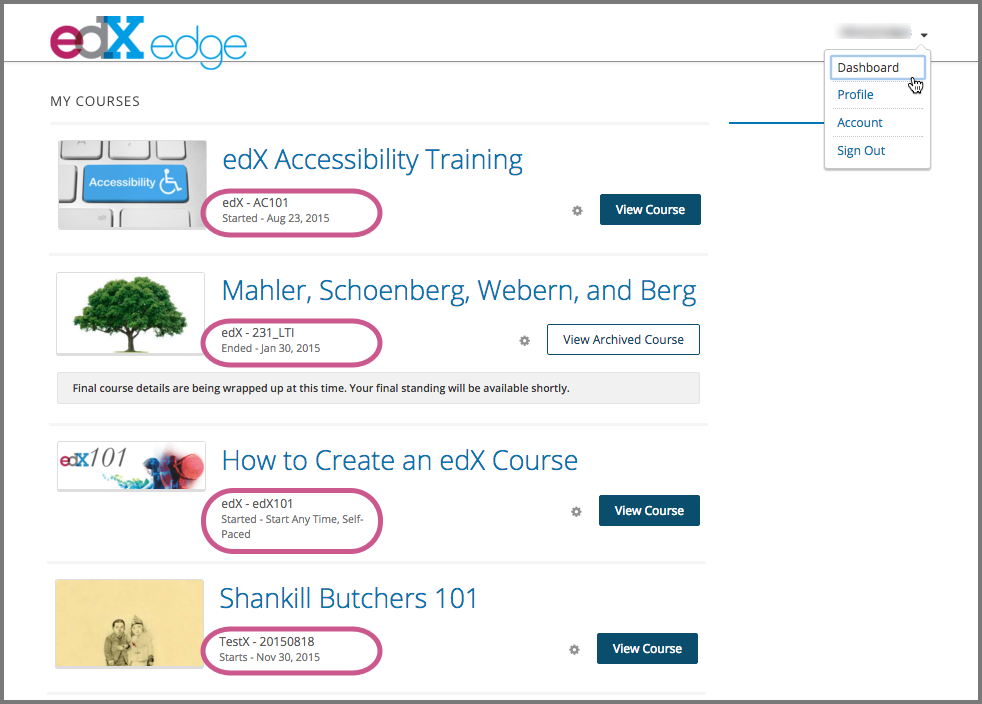
For more information, see View Start and End Dates as a Learner.
5.7.2. The Course About Page
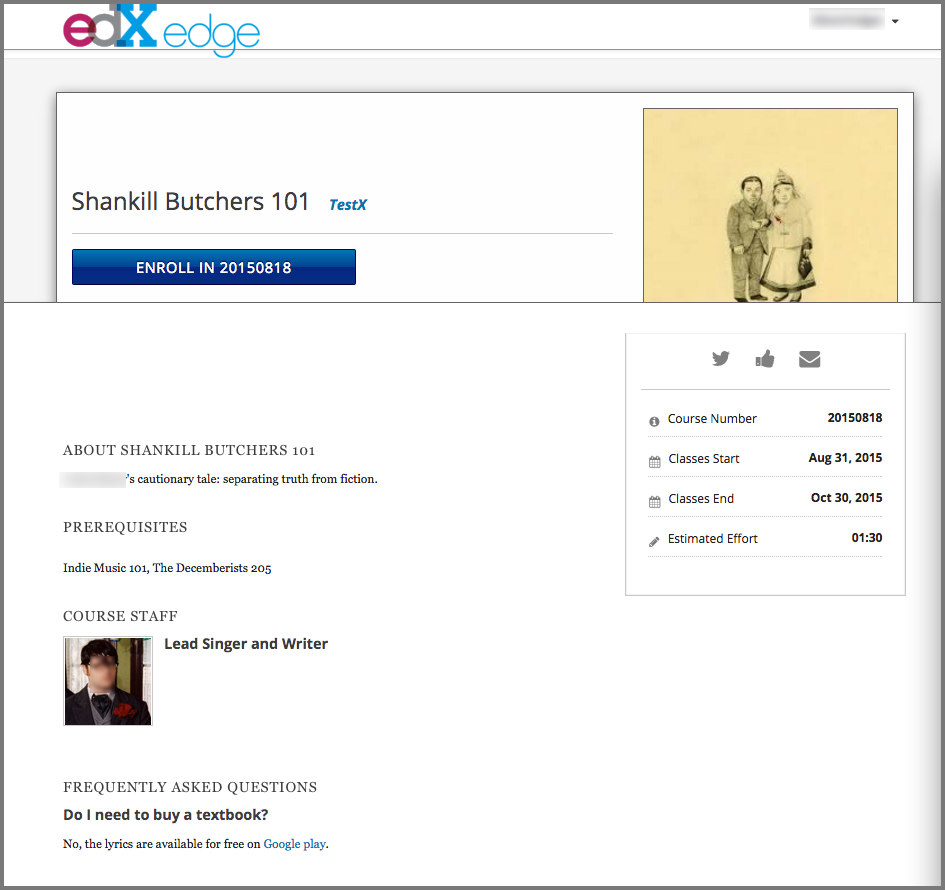
The course About page, sometimes called the course summary page, provides information about your course to learners. In addition to the course start and end dates and an overview of course objectives, the About page can include information such as a course description with course prerequisites, requirements, and team biographies. Learners can see the About page before they enroll in the course, and might decide to enroll based on the content of the page.
If the CourseTalk widget is enabled for your instance of the Open edX platform, the About page for every course also includes the CourseTalk widget. Learners who have enrolled in your course use this widget to write reviews of your course on the Home page in the LMS. These reviews are then visible on the course About page. For more information, see Adding the CourseTalk Widget.
5.7.2.1. Adding Information to the Course About Page
You configure the contents of this page in Studio.
5.7.2.1.1. Describe Your Course
Learners see the description of your course on the course About page. For example, the course description is circled in the following course About page.
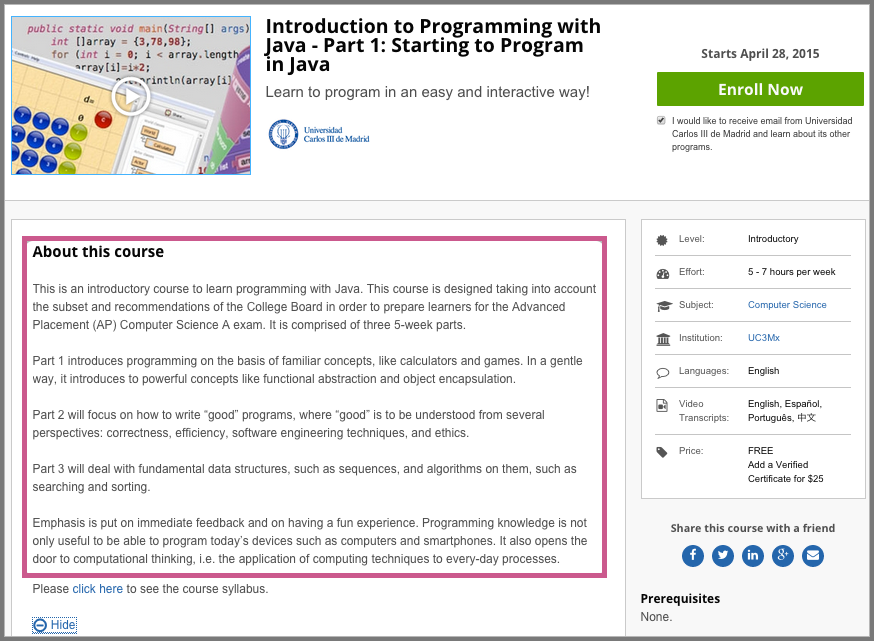
Given the diversity of online learners, be sure to review your course description to ensure that it clearly communicates the target audience, level, and prerequisites for your course. Use concrete, unambiguous phrasing, such as a prerequisite of “understand eigenvalue decomposition” rather than “intermediate linear algebra”.
To provide a description for your course, follow these steps.
From the Settings menu, select Schedule & Details.
Scroll down to the Introducing Your Course section, then locate the Course Overview field.
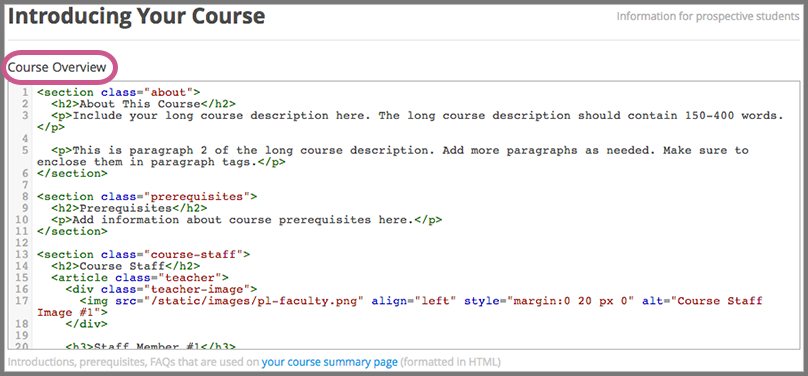
Overwrite the content as needed for your course, following the directions in the boilerplate text. Do not edit HTML tags. For a template that includes these placeholders, see the Course Overview Template.
To test how the description will appear to learners, from the text that follows the Course Overview field select your course summary page.
Select Save Changes.
5.7.2.1.2. Add a Course Image
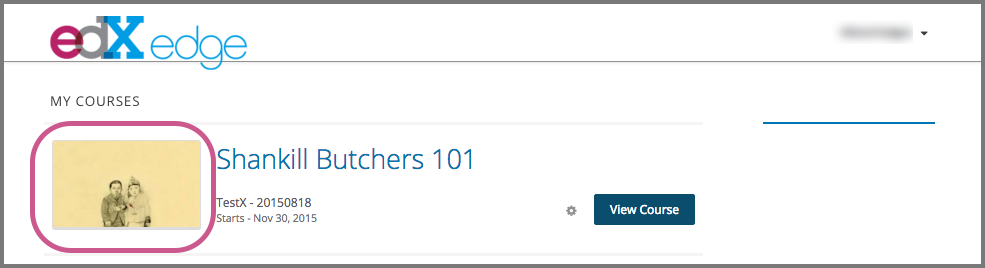
The course image that you add in Studio appears on the About page for the course and on the learner dashboard. It must be a minimum of 378 pixels in width by 225 pixels in height, and in .jpg or .png format. Make sure the image that you upload maintains the aspect ratio of those dimensions so that the image appears correctly on the dashboard.
An example of a course on the dashboard with a course image follows.
To add a course image, follow these steps.
From the Settings menu, select Schedule & Details.
In the Course Image section, select Upload Course Image, and then follow the prompts to find and upload your image. To specify an image that has already been added to the course, select files & uploads.
When you make changes on this page, a panel with options to save or cancel your work appears.
Select Save Changes.
View your dashboard to test how the image will appear to learners.
5.7.2.1.3. Adding a Course About Video
The course “about” video should excite and entice potential learners to enroll, and reveal some of the personality that the course team brings to the course.
This video should answer these key questions.
- Who is teaching the course?
- What university or institution is the course affiliated with?
- What topics and concepts are covered in your course?
- Why should a learner enroll in your course?
This video should deliver your message as concisely as possible and have a run time of less than 2 minutes.
Before you upload a course about video, make sure that it follows the same Recommended Compression Specifications and Supported Video Formats guidelines as your course content videos.
Note
- If you upload both a course image and a course about video, the course image appears on learner dashboards with a play icon superimposed on it. If you upload only a course video, the first frame of the the video file appears with the play icon.
- The process for adding a course about video is different than the process for including videos as part of the content of your course. For more information about including video content, see Working with Video Components.
To upload a course about video, follow these steps.
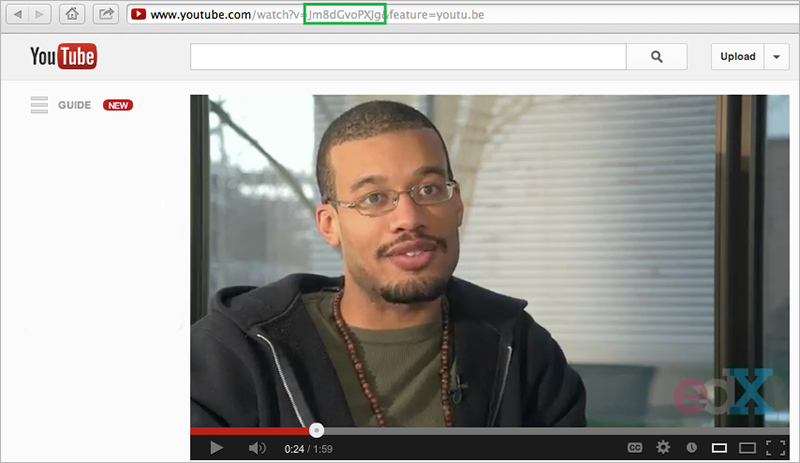
Upload the video file to YouTube. Make note of the code that appears between watch?v= and &feature in the URL. This code appears in the green box below.
From the Settings menu, select Schedule & Details.
Scroll down to the Course Introduction Video section.
In the field below the video box, enter the YouTube video ID (the code you copied in step 1). When you add the code, the video automatically loads in the video box.
When you make changes, a Save Changes option appears at the bottom right of the page. Select Save Changes after you add the course video.
View your course About page to test how the video will appear to learners.
5.7.2.1.4. Set Course Effort Expectations
The estimated effort that the course requires appears in the course About page.
To set the hours and minutes a week estimate in Studio, follow these steps.
From the Settings menu, select Schedule & Details.
In the Requirements section, locate the Hours of Effort per Week field.
Enter the number of hours you expect learners to work on this course each week.
When you make changes on this page, a panel with options to save or cancel your work appears.
Select Save Changes.
View your course About page to test how the requirements will appear to learners.
5.7.2.1.5. Course Overview Template
Replace the placeholders in the following template with information for your course.
<section class="about">
  <h2>About This Course</h2>
  <p>Include your long course description here. The long course description
  should contain 150-400 words.</p>
  <p>This is paragraph 2 of the long course description. Add more paragraphs
  as needed. Make sure to enclose them in paragraph tags.</p>
</section>
<section class="prerequisites">
  <h2>Requirements</h2>
  <p>Add information about the skills and knowledge students need to take
  this course.</p>
</section>
<section class="course-staff">
  <h2>Course Team</h2>
  <article class="teacher">
    <div class="teacher-image">
      <img src="/static/images/placeholder-faculty.png" align="left"
      style="margin:0 20 px 0" alt="Course Team Image #1">
    </div>
    <h3>Team Member #1</h3>
    <p>Biography of course team member #1</p>
  </article>
  <article class="teacher">
    <div class="teacher-image">
      <img src="/static/images/placeholder-faculty.png" align="left"
      style="margin:0 20 px 0" alt="Course Team Image #2">
    </div>
    <h3>Team Member #2</h3>
    <p>Biography of course team member #2</p>
  </article>
</section>
<section class="faq">
  <section class="responses">
    <h2>Frequently Asked Questions</h2>
    <article class="response">
      <h3>Do I need to buy a textbook?</h3>
      <p>No, a free online version of Chemistry: Principles, Patterns, and
      Applications, First Edition by Bruce Averill and Patricia Eldredge
      will be available, though you can purchase a printed version (
      published by FlatWorld Knowledge) if you’d like.</p>
    </article>
    <article class="response">
      <h3>Question #2</h3>
      <p>Your answer would be displayed here.</p>
    </article>
  </section>
</section>