3. Exploring Your Dashboard and Profile
Note
Your dashboard is available only from the LMS. If you are currently working in Studio, view the live version of your course to access your dashboard.
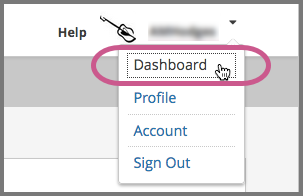
You can access course, account, or profile information from any page on the website, whether you are in a course or browsing the course catalog. Select the dropdown menu icon next to your username, and then choose one of the following menu options.
- Dashboard gives you access to the courses and programs that you have enrolled in, and to information such as course start and end dates, certificates, and email settings.
- Profile gives you the option to provide personal information about yourself that other course participants can see, such as an image and biographical information.
- Account gives you access to your account settings and preferences. For example, you can update your password or email address and set your time zone.
3.1. Accessing Your Courses from the Dashboard
Your dashboard lists all of the courses that you are enrolled in. When you create an account or enroll in a course, you automatically go to your dashboard. You can also access your dashboard by selecting the dropdown menu icon next to your username at the top of any page.
You can find information about your courses and change course-specific email subscription settings on your dashboard. For more information, see Updating Course-Specific Settings.
3.1.1. Sharing Your Courses on Social Media
On your dashboard, you can share the courses you are enrolled in on social media sites such as Facebook and Twitter.
This feature is available only if it has been enabled by your course provider.
- Sign in to the social media site on which you want to share your course enrollment.
- From your dashboard, find the course that you want to share.
- Select the icon for the social media site where you want to share. A dialog box for the social media site you selected opens, with the course URL entered and a default social media message.
- Optionally, modify the text of the social media message.
- Select the appropriate button to publish your message on the social media site.
3.2. Adding Profile Information
Your personal profile allows you to specify information about yourself that you want to share with other participants in the courses that you take. Adding a profile is optional. If you add profile information, course teams and other learners in your courses can view the information that you share.
In addition to your username, your profile can include a picture, your location, and other biographical information.
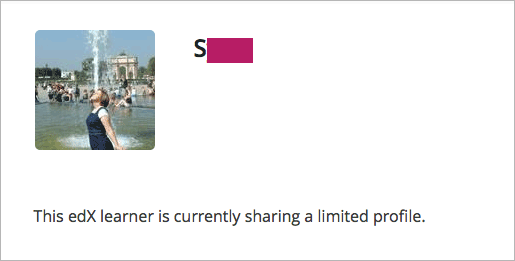
You can share either a limited profile or a full profile.
A limited profile shares only your username and an optional profile picture.
Note
- If you are under 13 years of age, you can only share a limited
profile. You cannot share a profile picture.
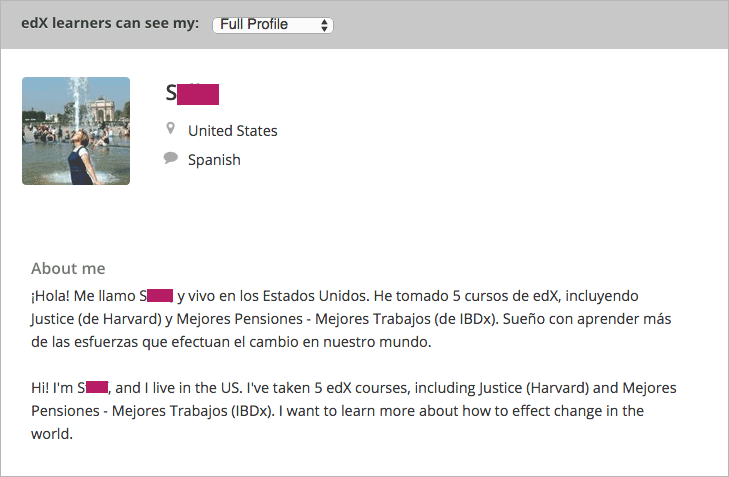
A full profile includes biographical information in addition to your username and profile image.
3.2.1. Add or Update a Limited Profile
A limited profile includes only your username and, optionally, an image.
Note
If you are under 13 years of age, your limited profile only includes your username. You cannot add a profile picture.
To add or update a limited profile, follow these steps.
At the top of any page, select the dropdown menu icon next to your username.
Select Profile.
On your profile page, locate learners can see my, and then select Limited Profile.
(optional) Add an image that you want to associate with your username. Your image must be a .gif, .jpg, or .png file. The image must be between 100 bytes and 1 MB in size. If you do not add an image, the placeholder image appears as your profile image.
- Move your cursor over the placeholder image, and then select Upload Image.
- In the dialog box, select the image file that you want, and then select Open.
To change or remove your profile image, move your cursor over your image, and then select either Change Image or Remove. When you remove your profile image, the placeholder image appears as your profile image.
The site saves your changes automatically.
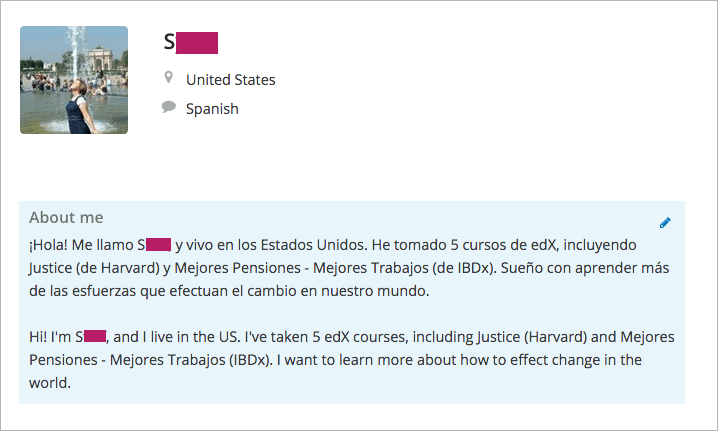
3.2.2. Add or Update a Full Profile
Note
You must specify your year of birth on the Account Settings page before you share a full profile. If you are under 13 years of age, you can share only a limited profile.
A full profile can include the following information. Your username and country or region are required.
- Your username.
- An image that you select to identify yourself.
- Your country or region.
- Your preferred language.
- A paragraph about yourself. You might include your interests, goals, or other information that you want to share. This paragraph can contain up to 3000 characters.
To add or update your profile, follow these steps.
At the top of any page, select the dropdown menu icon next to your username.
Select Profile.
Locate learners can see my, and then select Full Profile.
On your profile page, move your cursor over the information that you want to add or change.
If you have not added information to the field, the field appears highlighted and surrounded by a dashed line.
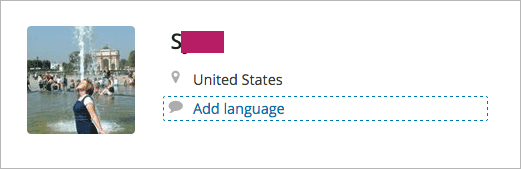
If the field already has information, the field appears highlighted, and a pencil icon appears.
Move your cursor inside the field, and then either enter text in the field or select a different option from a list.
The site saves your changes automatically.
Note
If you change the profile type selection from Full Profile to Limited Profile, your location, language, and descriptive paragraph are not visible on your profile page. However, this information is saved. To make this information visible again, select Full Profile.
3.2.3. View Another Learner’s Profile
You can view other learners’ profiles through their posts, responses, or comments in course discussions.
On the Discussion page, select the username of any learner in a post, a response, or a comment.
A page that displays the discussion activity only for the selected learner opens.
On the learner’s Discussion page, select their linked username.
The learner’s account profile page opens.
3.3. Updating Course-Specific Settings
From the dashboard, access the courses that you are enrolled in and change course-specific settings. You can also unenroll from a course from the dashboard.
3.3.1. Change a Course Email Preference
To subscribe or unsubscribe to emails from a course, follow these steps.
On your dashboard, locate the course.
Select the course settings icon. The course settings icon resembles a gear and appears next to View Course or View Archived Course.

Select Email Settings.
Select or clear the Receive course emails check box, and then select Save Settings.
Note
If you clear this check box, you will not receive any of the email messages that course teams send to communicate with enrolled learners in the course.