8.15. Full Screen Image Tool
Note
EdX offers full support for this tool.
Some large images are difficult for learners to view in the courseware. The full screen image tool allows learners to enlarge the image, so they can see all the detail in context.
8.15.1. The Learner View of a Full Screen Image
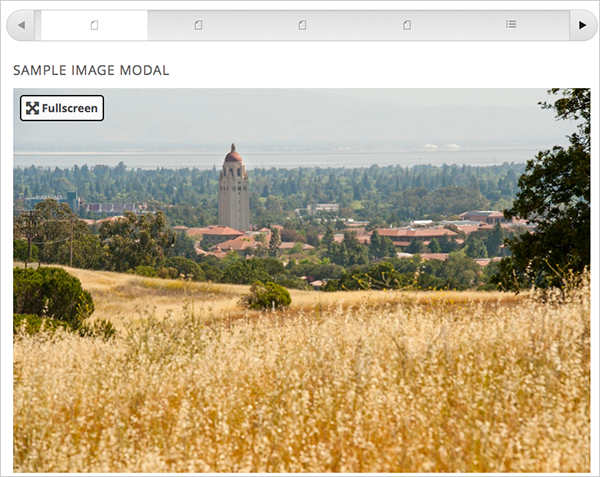
The learner sees the full screen image in a unit page. When the learner moves the cursor over the image, the Fullscreen option appears.

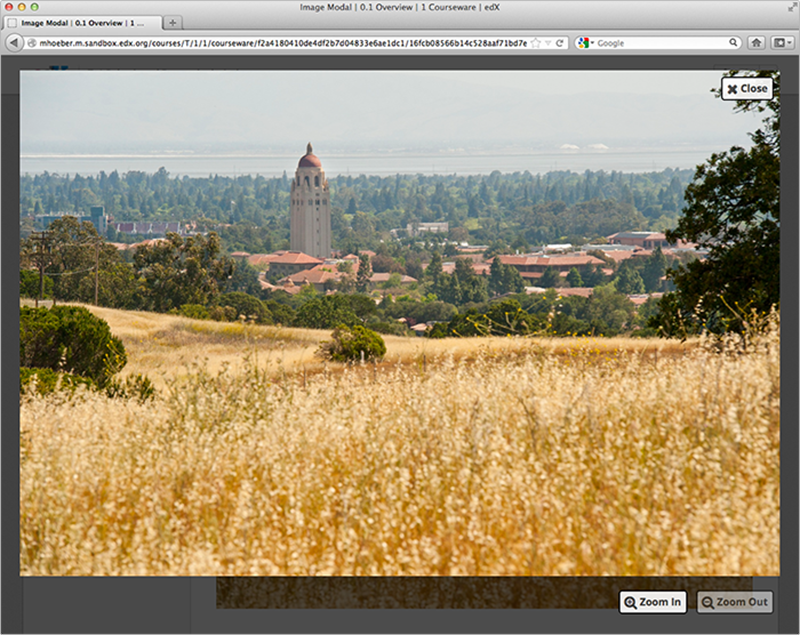
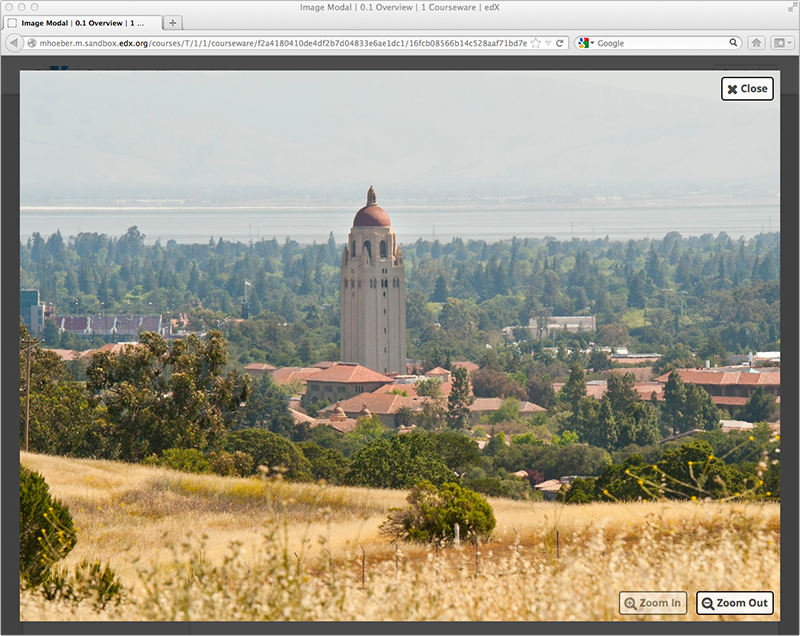
When the learner selects Fullscreen, the image opens and expands in the full browser window. Close, Zoom In, and Zoom Out options appear.

The learner can then zoom in on the image, and drag the image to view a specific part of it.

8.15.2. Create a Full Screen Image
Upload your image file to the Files & Uploads page. For more information, see Adding Files to a Course.
Under Add New Component, select HTML, and then select Full Screen Image Tool.
In the new component that appears, select Edit.
In the component editor, replace the default title, remove the instructional paragraph, and add text as needed.
Select HTML from the toolbar to edit the HTML source code.
Scroll down in the file, and then replace the following placeholders with your own content.
Replace the value of the
<a>element’shrefattribute with the path to your image. Do not change the value of the class attribute. For example:<a href="/static/Image1.jpg" class="modal-content">Replace the value of the
<img>element’ssrcattribute with the path to your image. For example:<img alt="Full screen image" src="/static/Image1.jpg"/>Ensure that the value of the
hrefandsrcattributes are the same, and that you do not change the class attribute. Your sample code should look like the following example.
<h3>Sample Image Modal</h3>
<a href="/static/Image1.jpg" class="modal-content">
<img alt="Full screen image" src="/static/Image1.jpg"/>
</a>
Note
You can use this same HTML code in any HTML component, not just those components you created as full screen images.
Select Save.