5.2. Developing Your Course Outline
As you develop your course, you work primarily in the edX Studio course outline. This chapter includes the following information about working with the course outline:
- Open the Course Outline
- Example of a Developed Course in the Outline
- View the Course Organization as a Student
- Navigate the Course Outline
- Add Content in the Course Outline
- Modify Settings for Objects in the Course Outline
- Publish Content from the Course Outline
- Reorganize the Course Outline
- Delete Content in the Course Outline
See the following chapters for information about working with the course building blocks in the course outline:
- Developing Course Sections
- Developing Course Subsections
- Developing Course Units
- Developing Course Components
5.2.1. Open the Course Outline
To view the course outline:
Log in to edX Studio.
In the My Courses page, select the course you want to develop.
The course outline opens by default when you open a course.
When working in a course, to open the outline, from the Content menu, select Outline.
The first time you view an outline for a course, it contains no content.
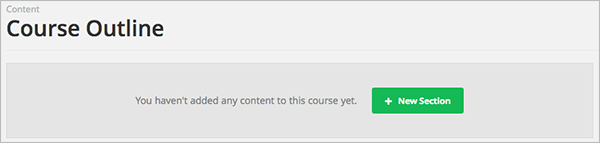
You must create the first section.
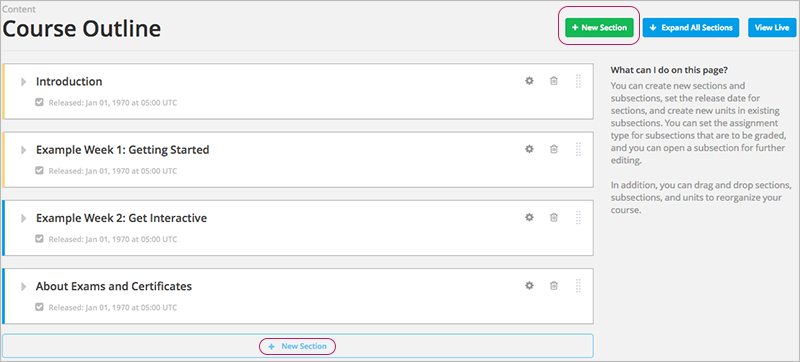
5.2.2. Example of a Developed Course in the Outline
The following example shows a sample course in the outline, with indications for sections, subsections, and units. As you develop your course, it will begin to look like this example:
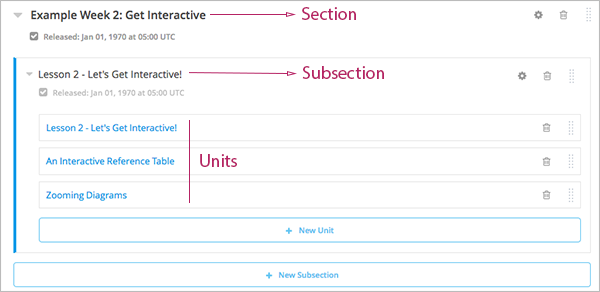
As this example shows, the course is organized into the following levels:
Components are not shown in the outline. You add or access components by clicking on the units that contain them.
Use the links above for more information and instructions on working with each type of object in the course. The rest of this chapter provides more detail about the course outline.
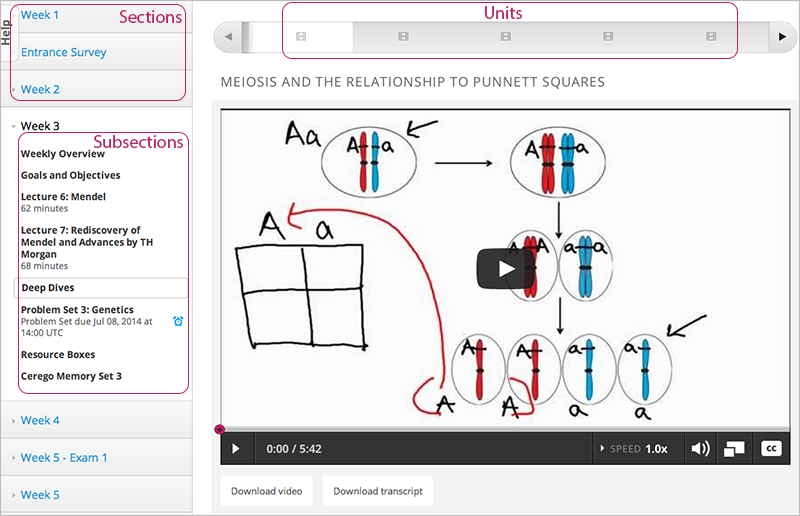
5.2.3. View the Course Organization as a Student
The content you see in the outline in Studio is displayed to students in the Courseware tab in the LMS. The following image shows how a student sees your course content:
5.2.4. Navigate the Course Outline
In Studio, you navigate the course outline by expanding and collapsing sections and subsections. Use the drop-down icon next to a section or subsection name to expand or collapse its contents:

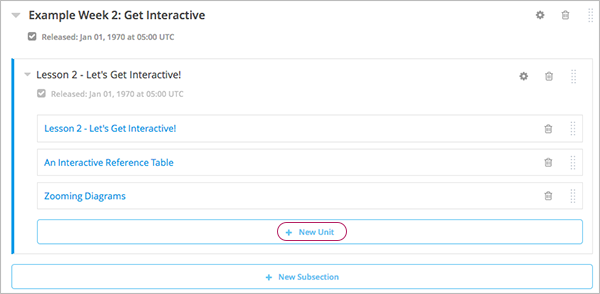
When you expand a subsection, all units in the subsection are visible:
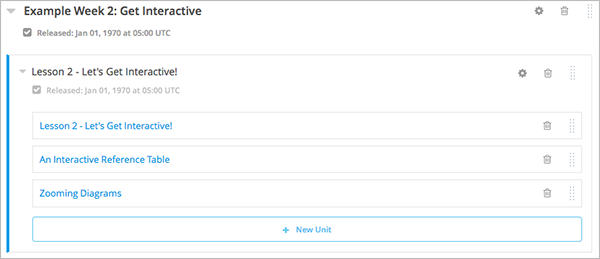
Click the name of a unit to open the unit page.
5.2.5. Add Content in the Course Outline
You add sections, subsections, and units directly in the outline.
To add a section to the end of the outline, click New Section at the top of the outline page or at the bottom of the outline:
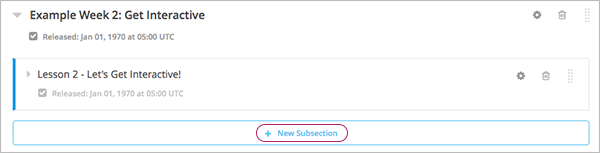
To add a subsection to the end of the section, expand the section and click New Subsection:
To add a unit to the end of a subsection, expand the subsection and click New Unit:
The unit page opens.
Note
If you want to require an entrance exam for your course, you also create the exam in the course outline. Before you can create an exam, you must set your course to require an entrance exam in Studio. For more information, see Require an Entrance Exam.
5.2.6. Modify Settings for Objects in the Course Outline
You modify settings for sections, subsections, and units in the course outline. Specifically, you can complete the following tasks:
- Set a Section Release Date
- Hide a Section from Students
- Set a Subsection Release Date
- Set the Assignment Type and Due Date for a Subsection
- Hide a Subsection from Students
- Hide a Unit from Students
To modify settings for a section, subsection, or unit, click the settings icon for that object. In the following example, the settings icon is circled for a section, a subsection, and two units:
For more information, see the links above.
5.2.7. Publish Content from the Course Outline
You can publish new and changed units for an entire section or subsection. You can also publish individual units.
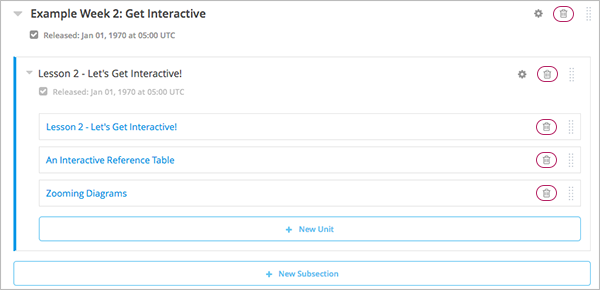
To publish new and changed units, click the publish icon for a section, subsection, or unit. In the following example, the publish icon is circled for a section, subsection, and unit:
Note
The publish icon only appears when there is new or changed content within the object.
For more information, see:
5.2.8. Reorganize the Course Outline
You can reorganize your course content by dragging and dropping sections, subsections, and units to new locations in the outline.
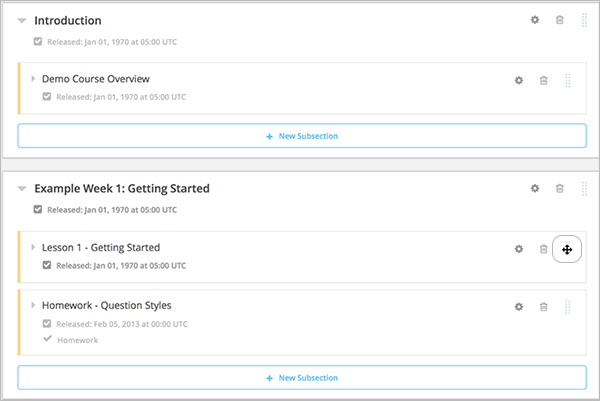
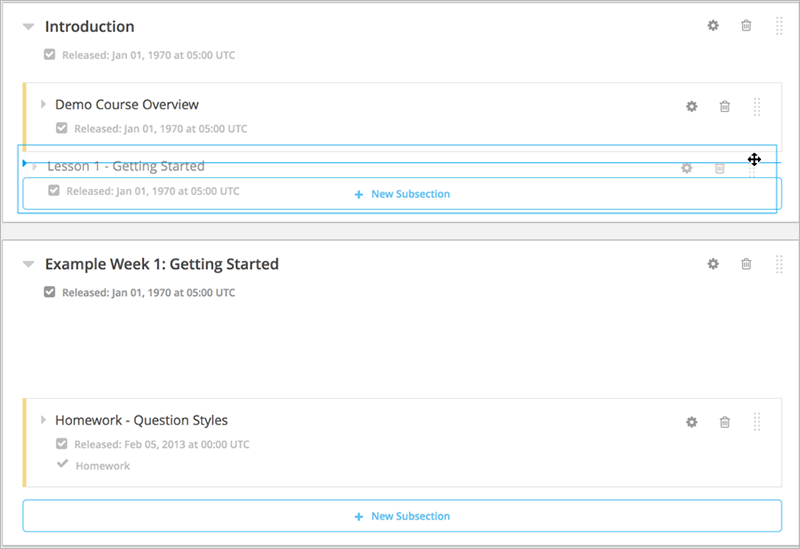
To move a section, subsection, or unit, hover over the handle on the right of the object’s box until the cursor changes to a four-headed arrow. For example, in the image below, the handle for the subsection Lesson 1 - Getting Started is selected:
Then, click and drag the object to the location that you want.
If you expanded the section or subsection you are moving the object to, when you move the object, a blue line indicates where the object will land when you release the mouse button. For example, in the image below, the subsection Lesson 1 - Getting Started is being moved to the end of the section Introduction:
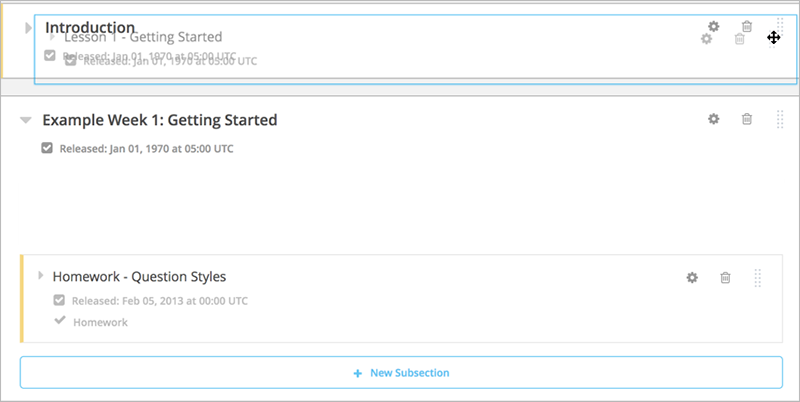
If you did not expand the section or subsection you are moving the object to, the outline of that section or subsection turns blue when you have moved the object to a valid location. You can then release the mouse button. For example, in the image below, the subsection Lesson 1 - Getting Started is being moved to the collapsed section Introduction:
5.2.9. Delete Content in the Course Outline
You delete sections, subsections, and units from the course outline.
Warning
You cannot restore course content after you delete it. To ensure you do not delete content you may need later, you can move any unused content to a section in your course that you set to never release.
Click the delete icon in the box for the object you want to delete:
You are prompted to confirm the deletion.
Note
When you delete an object, all objects that it contains are deleted. For example, when you delete a subsection, all units in that subsection are deleted.