8.14. Google Drive Files Tool
This chapter describes how to embed Google Drive files, such as documents, spreadsheets, and images, in your course. For more information, see any of the following topics.
You can also use Google calendars in courseware. For more information, see Google Calendar Tool.
8.14.1. Overview
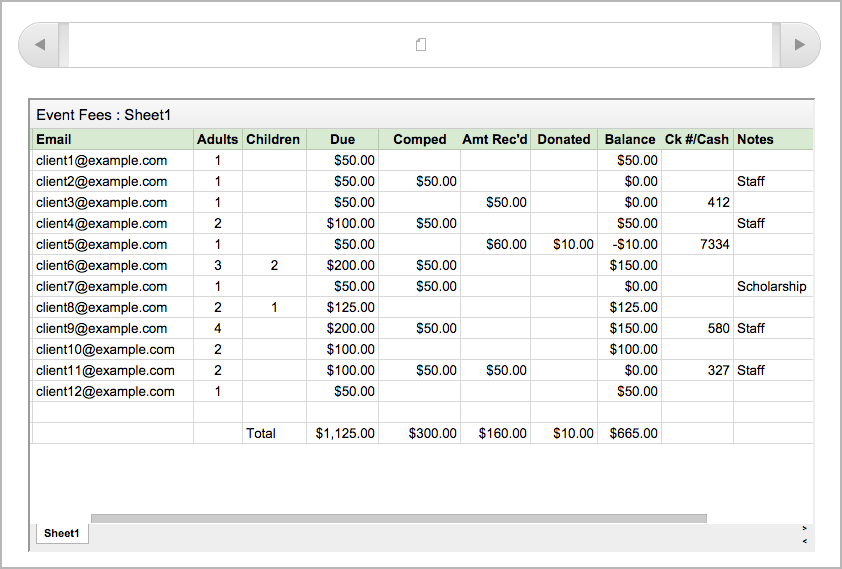
You can embed a Google Drive file in your course so that students see the file in the courseware. For example, you can share a Google spreadsheet with students.
You can embed the following types of Google Drive files.
- Google Docs (text documents)
- Google Drawings (images)
- Google Forms (forms or surveys)
- Google Slides (presentations)
- Google Sheets (spreadsheets)
8.14.2. Embedding a Google Drive File in Your Course
Embedding a Google Drive file in your course has three steps:
- Enable Google Drive files in your course by using Studio or OLX.
- Obtain the Google Drive File Embed Code.
- Add the Google Drive file to your course by using Studio or OLX.
8.14.2.1. Enable Google Drive Files in Your Course
You can enable Google Drive files in the course by using either Studio or OLX.
8.14.2.1.1. Enable Google Drive Files in edX Studio
To enable Google Drive files in your course:
From the Settings menu, select Advanced Settings.
In the Advanced Module List field, place your cursor between the braces, and then type
"google-document". If you see other values in this field, add a comma after the closing quotation mark for the last value, and then type"google-document". For example:
At the bottom of the page, select Save Changes.
8.14.2.1.2. Enable Google Drive Files in OLX
To enable Google Drive files in your course, you edit the XML file that
defines the course structure. You locate the course element’s
advanced-modules attribute, and add the string google-document
to it.
For example, the following XML code enables Google Drive files in a course. It also enables Google calendars.
<course advanced_modules="["google-document",
"google-calendar"]" display_name="Sample Course"
start="2014-01-01T00:00:00Z">
...
</course>
For more information, see The Courseware Structure.
8.14.2.2. Publish the Google Drive File and Obtain the Embed Code
Before you can add a Google Drive file to your course, you must publish the file to the web and obain the embed code for the file.
Important
The task described in this section relies on the use of third-party software. Because the software is subject to change by its owner, the steps provided here are intended as guidelines and not as an exact procedure.
Open the Google Drive file.
From the File menu, select Publish to the web.
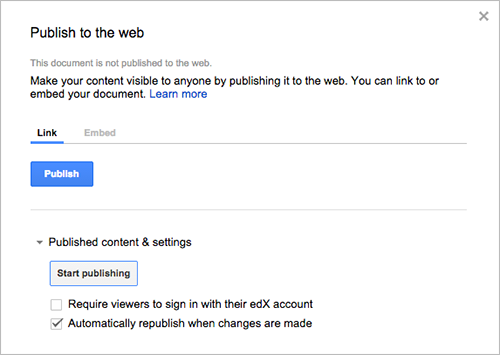
Click Publish, then select OK to confirm the action.
Click the Embed tab.
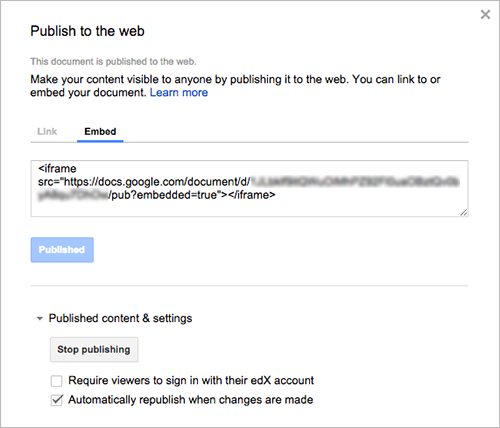
Copy the complete string in the Embed field, including the
<iframe>tags.Note
Google images do not have an
<iframe>tag. To embed an image, you copy the completeimgtag.You use that string to configure the Google Drive file component.
8.14.2.3. Add a Google Drive File to Your Course
To add a Google Drive file in the courseware, you create an advanced component in Studio or create a Google Document Xblock in OLX.
8.14.2.3.1. Add a Google Drive File Component in edX Studio
Ensure you enable Google Drive files before you add the component.
To add a Google Drive file component:
On the Course Outline page, open the unit where you want to add the Google Drive component.
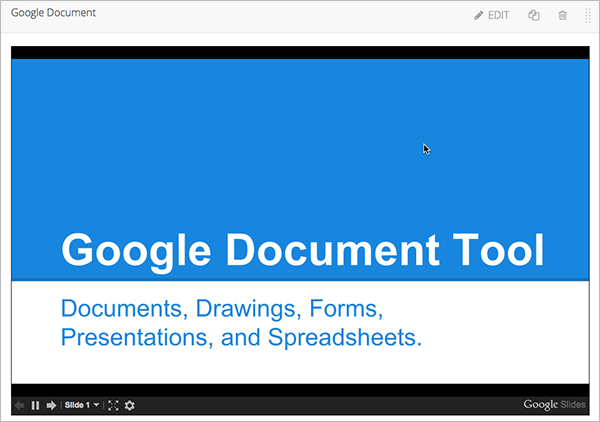
Under Add New Component click Advanced, and then select Google Document.
The new component is added to the unit, with the default Google presentation embedded.
In the new component, select Edit.

In the Display Name field, type the name for the component.
In the Embed Code field, paste the embed code you copied in the Obtain the Google Drive File Embed Code task.
Click Save.
You can then Preview Course Content to see how the unit with the Google drive file will appear to students.
8.14.2.3.2. Add a Google Drive File XBlock in OLX
To add a Google Drive file XBlock in OLX, you create the
google-document element. You can embed the google-document
element in the vertical element, or you can create the
google-document element as a stand-alone file that you reference
in the vertical.
For more information, see The Courseware Structure.
For example:
<google-document url_name="c5804436419148f68e2ee44abd396b12"
embed_code="<iframe
frameborder="0" src="https://docs.google.com/spreadsheet/pub
?key=0AuZ_5O2JZpH5dGVUVDNGUE05aTFNcEl2Z0ZuTUNmWUE&output=html&widge
t=true"></iframe>" display_name="Google Document"/>
The value of the embed_code attribute is the embed code you copied in the
Obtain the Google Drive File Embed Code task.
Note
The edX Learning Management System sets the height and width values for Google Drive files. If you add these attributes, the LMS overrides your changes.
8.14.3. Editing Google Drive Files
When you edit and save a Google Drive file that is embedded in your course, students see the updates immediately. You make changes to files with the Google user interface. You do not need to edit the Google Document component.