4.2. Getting Started with Studio
4.2.1. Overview
This chapter describes the tools you use to build an edX course, and how to create your first course:
4.2.2. What is Studio?
Studio is the edX tool you use to build your courses.
You use Studio to create course content, problems, videos, and other resources for students.
With Studio, you can also manage your schedule and course team, set grading policies, publish your course, and more.
You use Studio directly through your browser. You do not need any additional software.
4.2.3. Create Your First Course
When you receive notice that you can create courses, log in to Studio.
You see the following page, which is your My Courses dashboard:
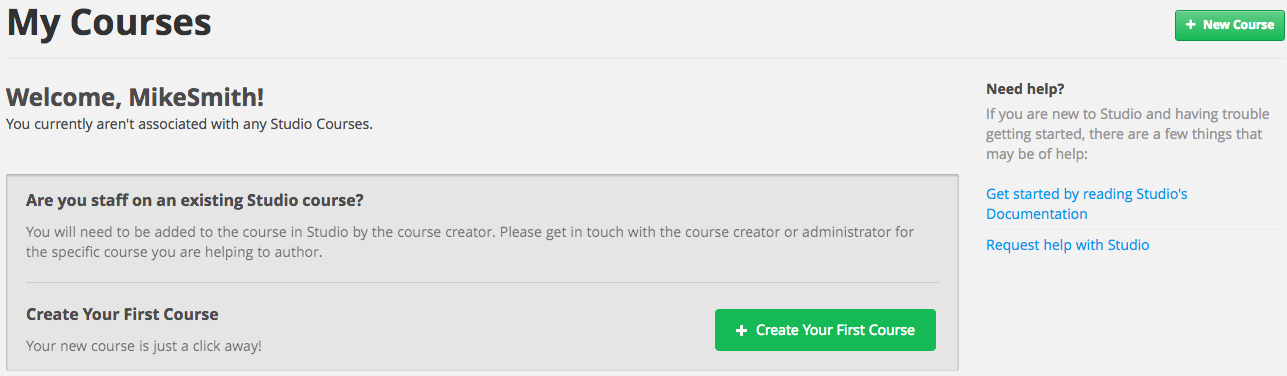
- Click Create Your First Course.
- Enter course information as needed and click Create.

Note
Enter new course information carefully. This information becomes part of the URL for your course. Because this information becomes part of your course URL, the total number of characters in the following three fields must be 65 or fewer.
- For Course Name, enter the title of your course. For example, the name may be “Sets, Maps and Symmetry Groups”. Use title capitalization for the course title.
- For Organization, enter the name of your institution. Do not include whitespace or special characters.
- For Course Number, enter both a subject abbreviation and a number. For example, for public health course number 207, enter PH207. For math course 101x, enter Math101x. Do not include whitespace or special characters in the course number.
- Click Save.
Your new course opens to the Course Outline page. Because you haven’t created any content yet, this page is empty.
In your browser’s address bar, notice that the URL of your course includes the course organization, number, and course run.
The rest of this documentation describes how you now build and run your course.