11.6. Course Live#
Live app can be used to configure video conferencing LTI tools like Zoom and BigBlueButton. These tools will help connect educators and learners within the platform.
11.6.1. Enable or disable course live app#
Once course live app has been enabled, and an LTI provider has been successfully configured, that provider will be accessible in “Live” tab in course navigation.
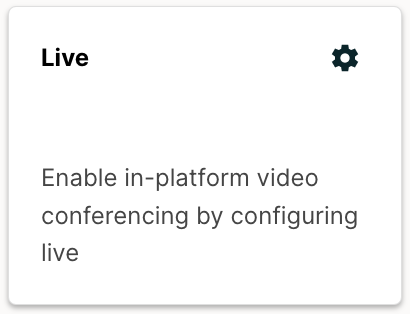
Go to “Pages & Resources” page and click gear icon on the “Live” configuration card.
Turn on the toggle on top-right to enable the app.
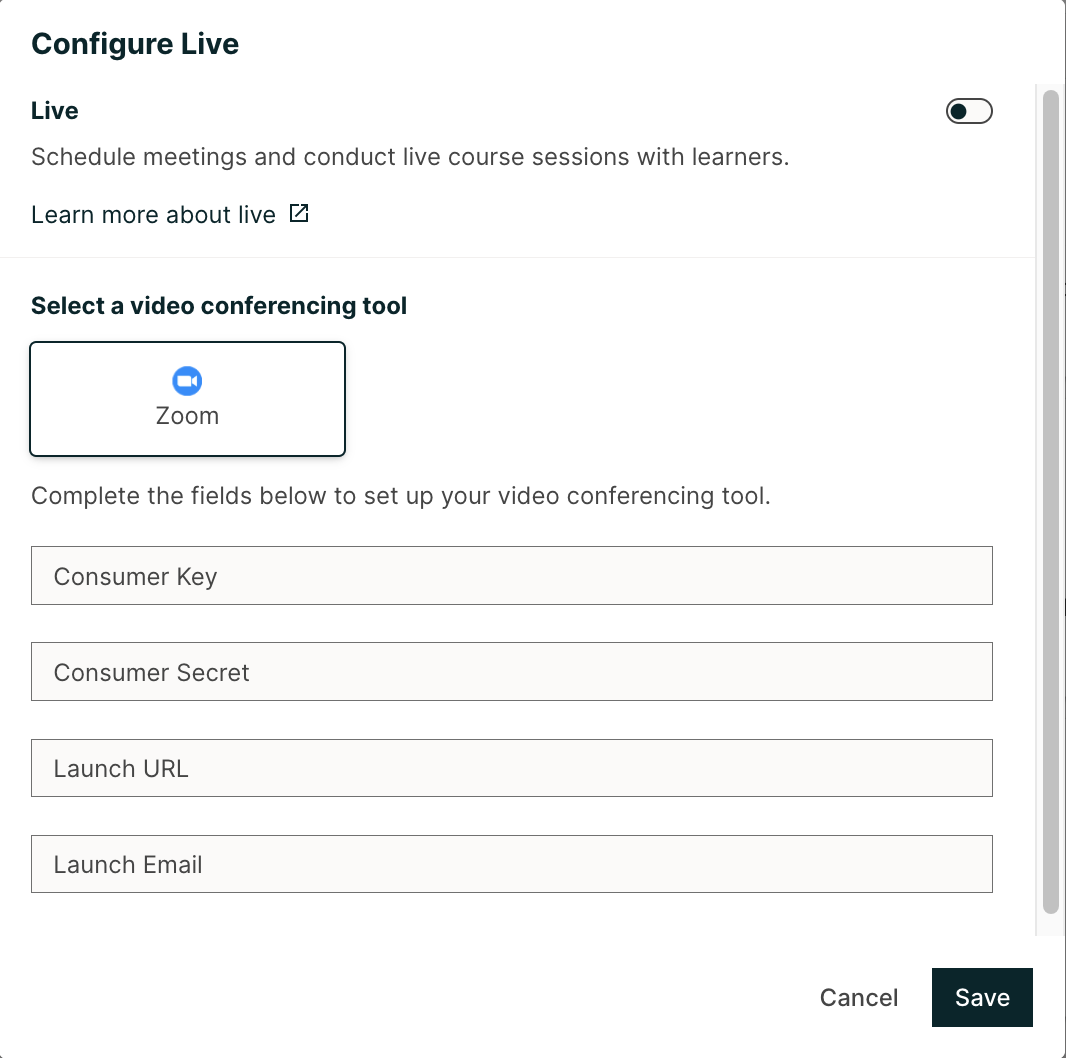
Select the LTI provider and add credentials (if needed).
Click “Save” to enable the selected LTI provider.
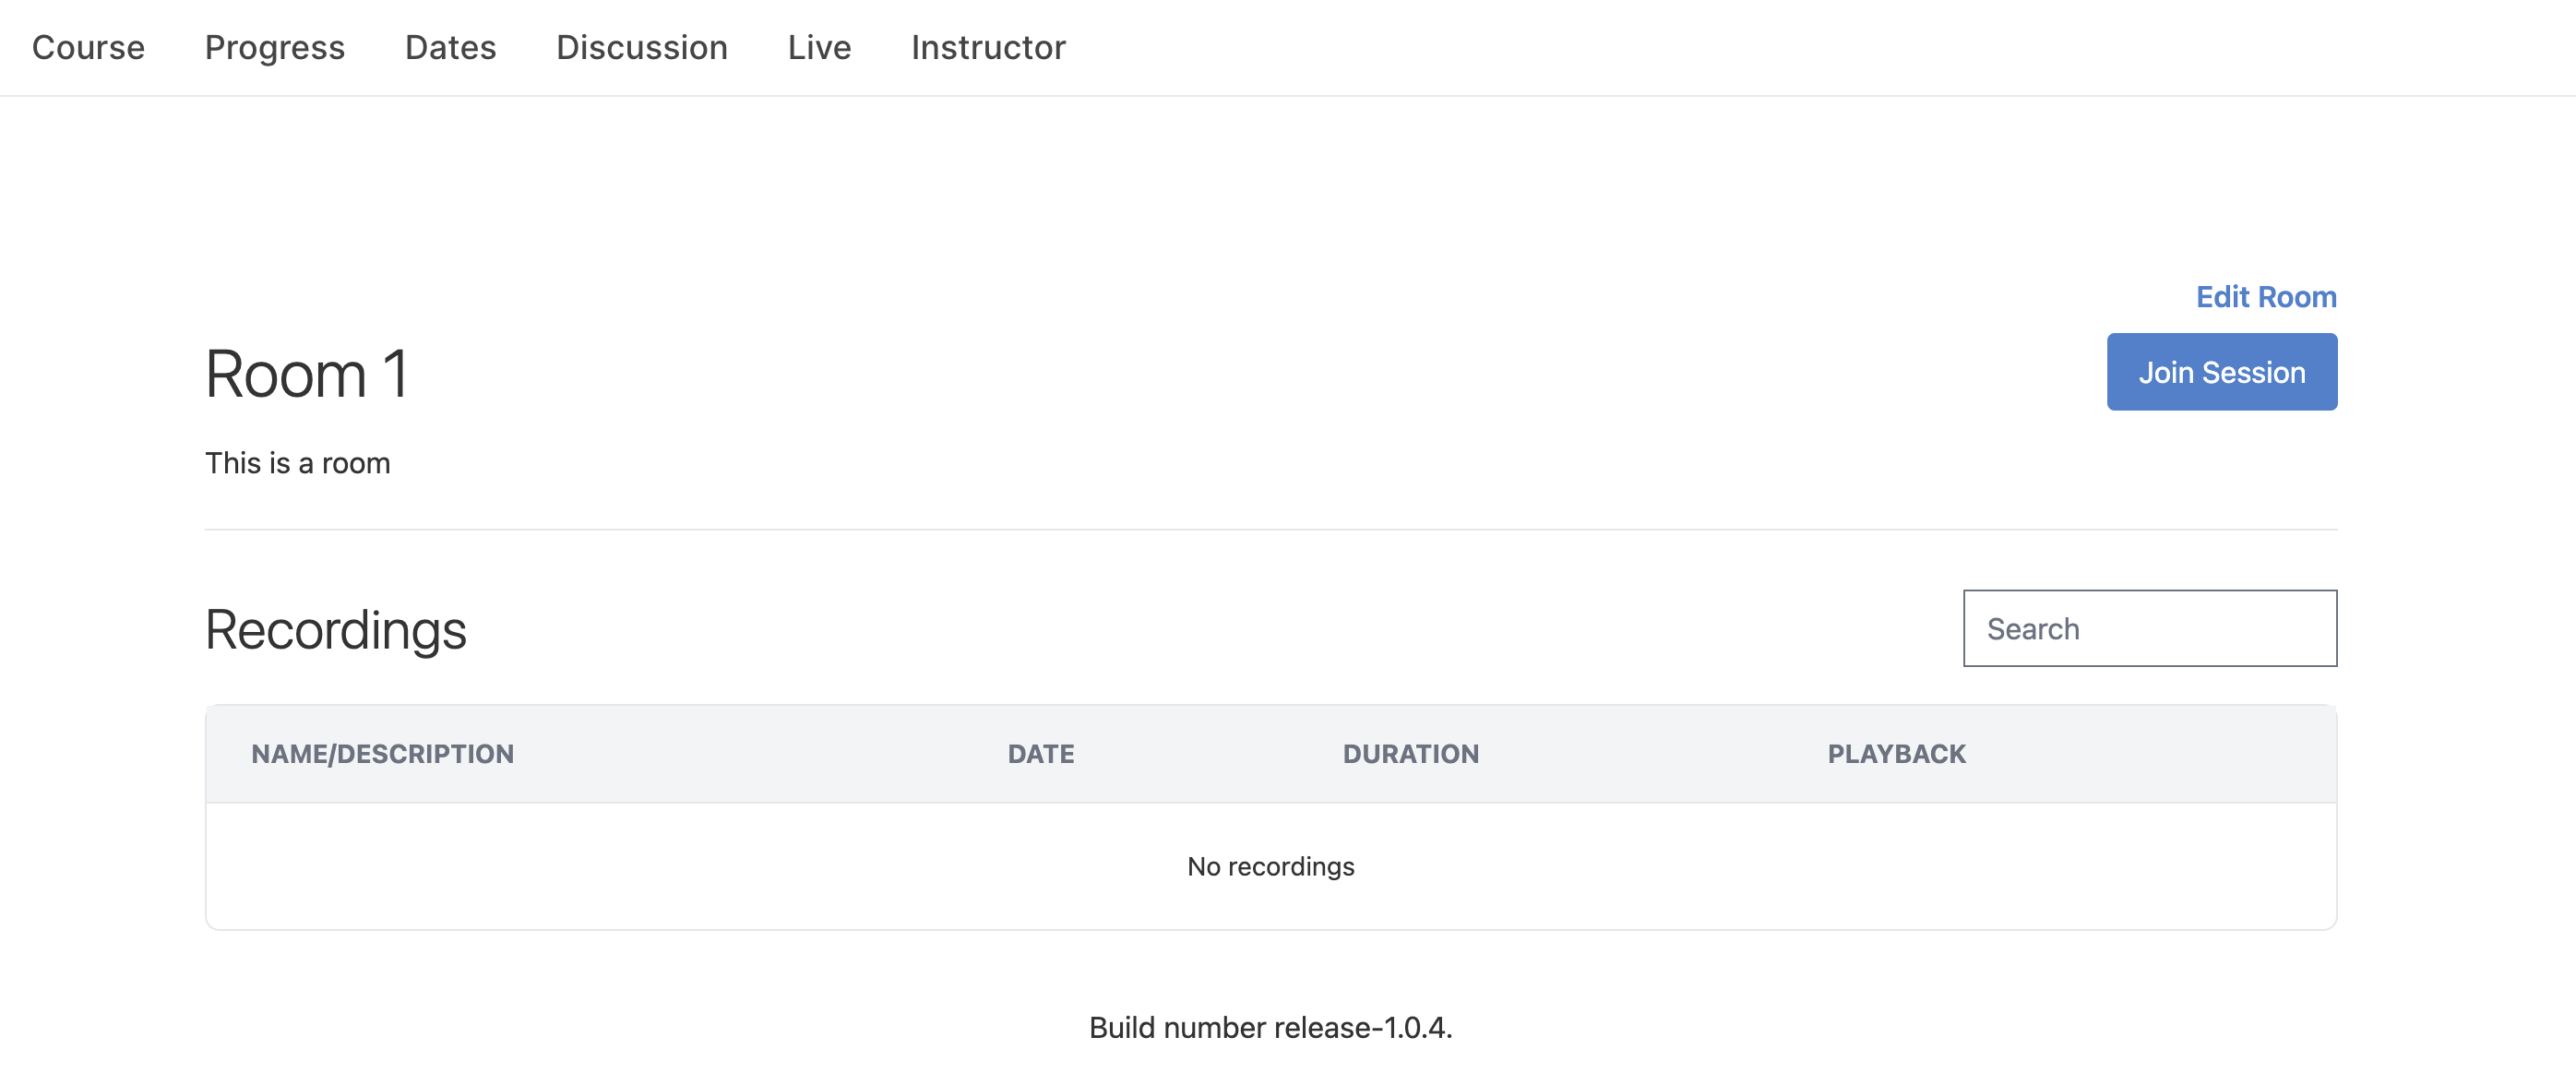
Once successfully enabled, the LTI provider will be accessible in “Live” tab in course navigation.
11.6.2. Provider specific configuration#
At present, edX supports following video conferencing LTI provider: 1. Zoom 2. Big Blue button
11.6.2.1. Zoom setup#
Zoom LTI pro app can be used to integrate Zoom video conferencing at the course level. Course authors will need to generate their own credentials for the Zoom LTI pro app and add those credentials in Live app configuration for Zoom.
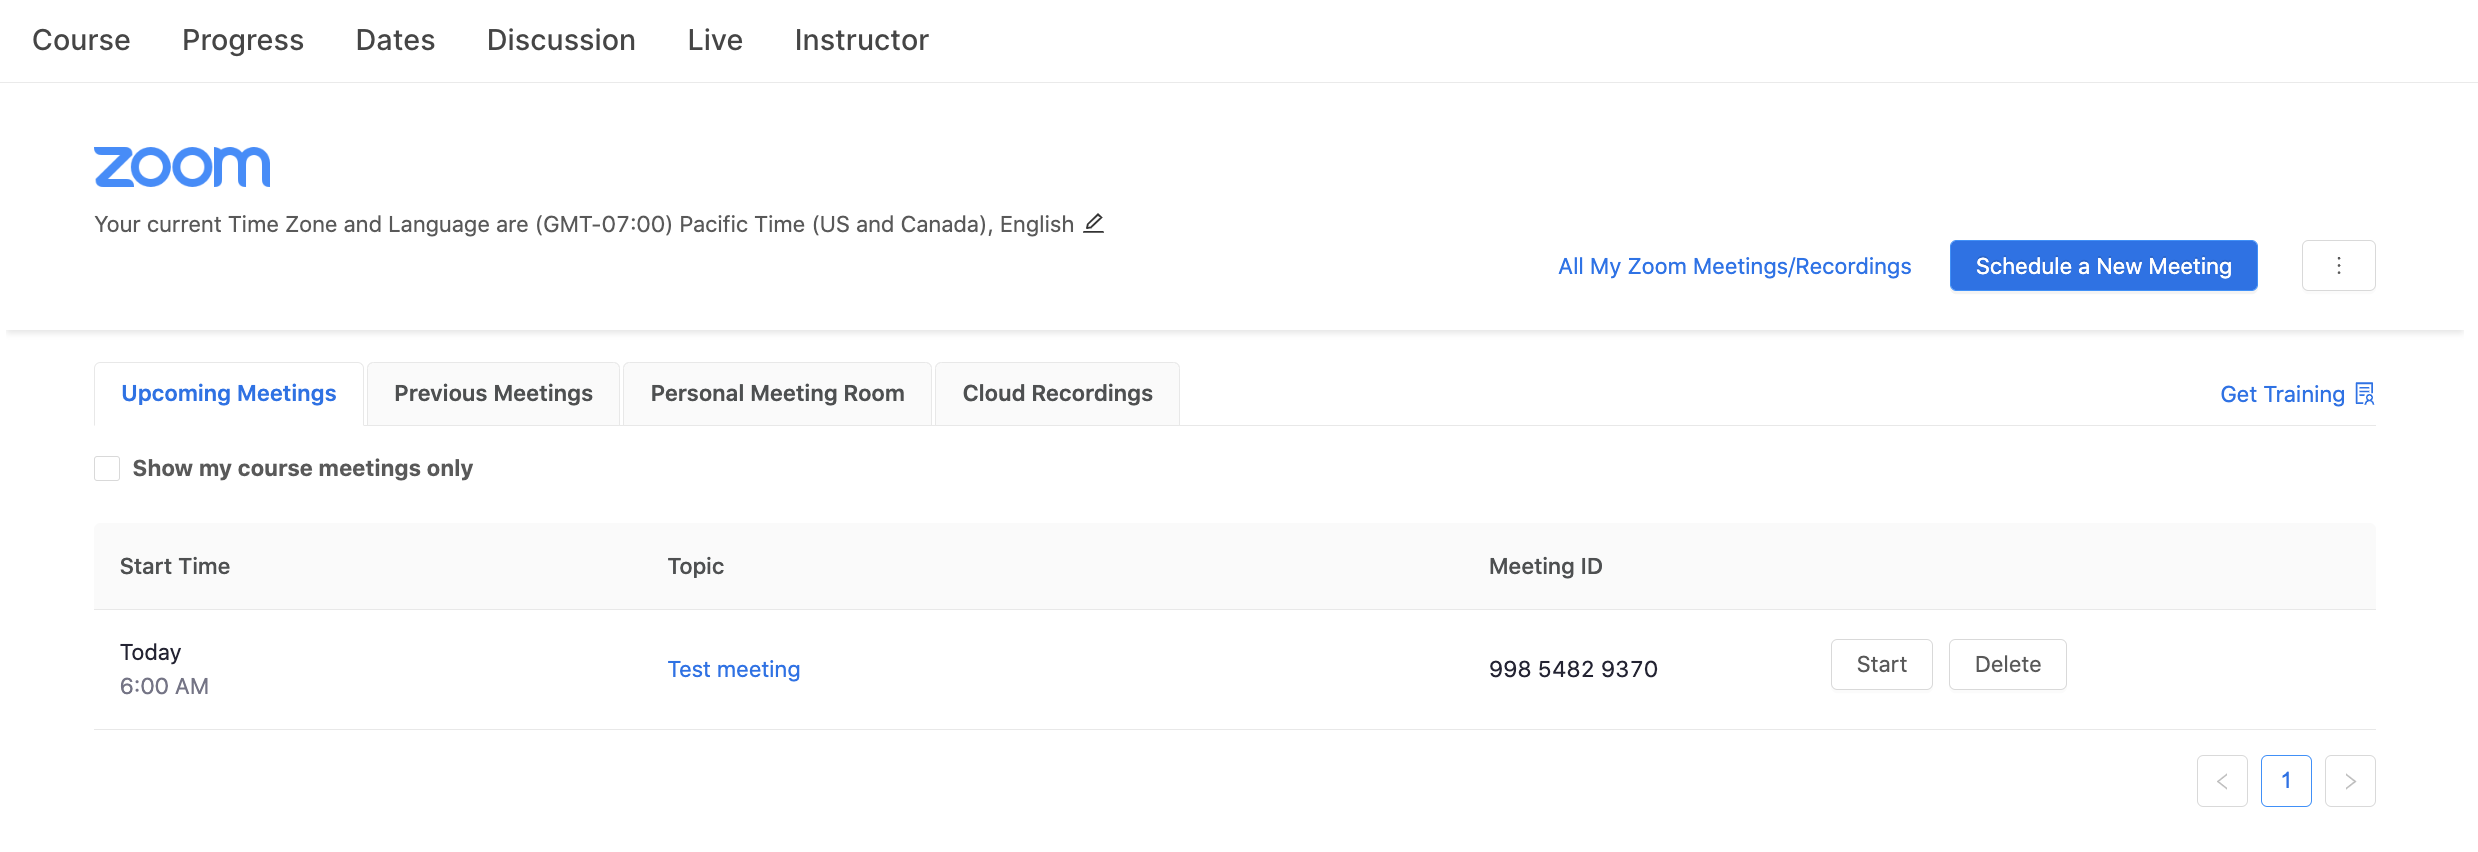
Instructors can use the the LTI Pro app to schedule and start Zoom meetings and students can see and join these meetings to attend classes, office hours, study groups etc. Learn more about the app here.
To generate LTI credentials in LTI pro app:
Add Zoom LTI pro app to your Zoom account.
Navigate to configurations of LTI pro app and add a new credential.
Name the credential and select LTI 1.1.
LTI URL, LTI Secret, and LTI Key will be auto-generated.
In settings of the credential:
Add “instructor_email” to Email or Employee Unique ID Attribute Name setting.
Add “https://learning.edx.org” to Approved Domains setting.
To configure Zoom, navigate to Live app configurations (see Enable or disable course live app):
1. Copy LTI URL, LTI Secret, and LTI Key from LTI pro app and paste in LTI input fields in Live app configuration for Zoom.
Add the email associated with your Zoom account, in “Launch Email” field.
Once successfully enabled, Zoom will be accessible in “Live” tab in course navigation.
11.6.2.2. Big Blue Button setup#
Big blue button can be used to create virtual classrooms for a course.
Instructors can use the big blue button to schedule and start meetings and students can see and join these meetings to attend classes. Learn more about the app on Big Blue button site.
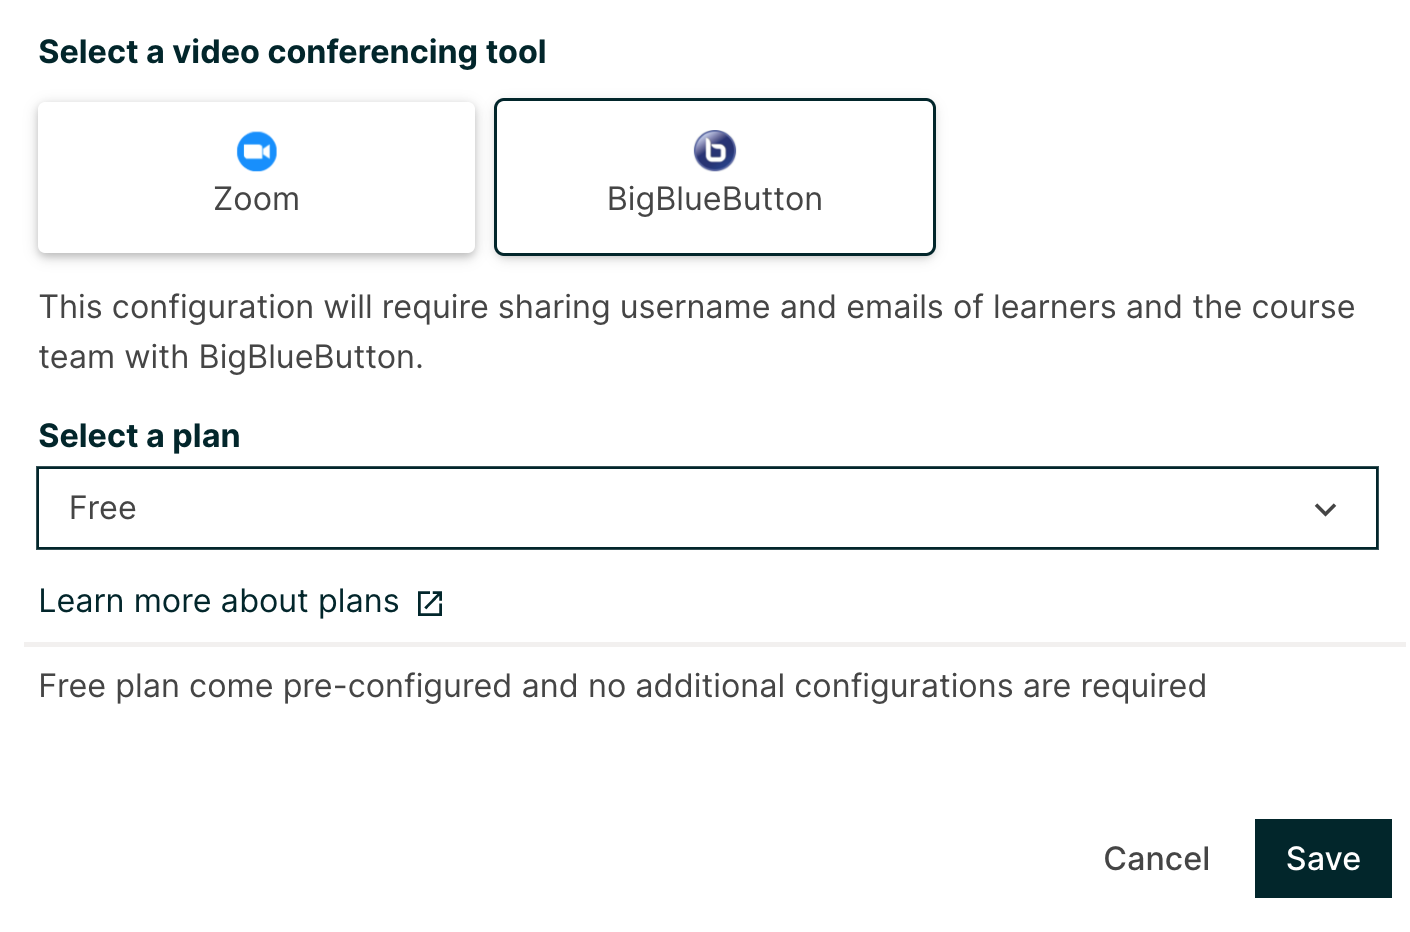
Configuration options for BBB are presented below:
Free tier: You can use BBB for free with certain limitations. See this document to learn more about the free tier. To configure, select the Free option in Select a plan dropdown menu and click Save. No further configuration is required.
Commercial/self-hosted: You can deploy BBB on your own server or use third-party hosting providers. Please find more information on features available in commercial tier in this document. You can use the services listed on this link. These services provide complete BBB deployment and support. Once you have obtained LTI credentials for BBB from your own deployment or via a third-party provider, select the Commercial/self-hosted option in Select a plan dropdown menu, add LTI credentials in respective input fields and click Save.
If you want to deploy your own server of BBB, please the documentation provided by BBB in the links below.
https://docs.bigbluebutton.org/administration/install
https://docs.bigbluebutton.org/administration/lti
Once successfully configured and enabled, BBB will be accessible in Live tab in course navigation.